Begin with the live tutorial
To start training in +1 Stone Skipping, follow the prompt on your screen and use a pad you have unlocked. Watch the Level bar, then check whether your throws go farther. The tutorial banner, multiplier labels on Skill pads, Skill counter, and Level bar give you the information you need. The exact input sequence and pad unlocks can differ as you progress, so read the current prompt instead of memorizing a route from another session.
If the banner names a Level target, work on that before shopping for another stone. A beginner’s banner has shown “Reach Level 20,” but your own target is the one to follow. Check the banner again after each milestone, because the next objective can change.
Choose a pad you can actually use
The training area includes colored pads labelled with Skill multipliers. Some stronger pads show rebirth-count icons and LOCKED. Standing near a locked pad is not the same as using it. Move to an available pad, read its sign, and watch the Skill and Level display while you perform the current training interaction. If the HUD does not change, check the prompt and pad state before assuming the game is broken.
| Visible cue | What to do |
|---|---|
| Tutorial banner | Complete its current action or Level target. |
| Unlocked Skill pad | Use it and watch the displayed gain. |
| LOCKED rebirth pad | Read the condition and return after meeting it. |
| Level progress bar | Confirm training moves you toward the next level. |
| Timed Skill chip | Note the timer before comparing gains. |
Keep rebirth pads separate from the premium Skill zones in Shop. Golden and Admin Skill zone purchase cards have appeared there. Their large labels do not make them part of your free beginner training route. Check currency and access conditions on each screen.
Measure a training session
Start with three throws using the same stone and pets. Record your usual distance and the farther zone reached. Then train on an accessible pad until the Level bar clearly progresses. Make three more throws without changing equipment. If the typical distance increases, training has helped your current setup. If the improvement is unclear, repeat once with boosts held constant rather than buying an upgrade immediately.
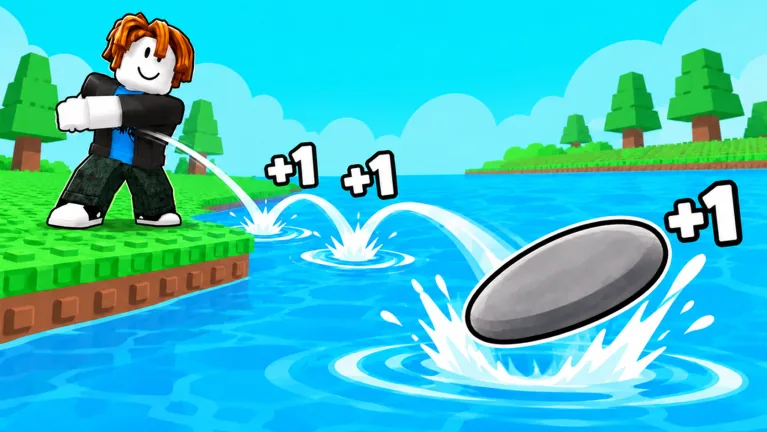
The base gain is +1 Skill per stone bounce. One player near a 1x Skill pad saw +3 floating above the character while other progression effects were also visible. That number is not a formula for your account. Compare your own HUD total before and after a throw. Friend Boost, timed Skill effects, pets, and pad access can all change the result.
Training works best with a goal beyond the Level number. Try to reach the next water-lane zone consistently; the official description says farther zones give more Wins. When you hit that milestone, compare a stone or pet upgrade if you want to push farther. If you only collect levels without checking throws, you lose track of whether the training is moving you toward a useful reward.
After Rebirth
The visible Rebirth panel warns that Level and Skill reset. A new cycle therefore begins with lower counters even if the panel promises a stronger multiplier. Return to an available training area and repeat the early loop. Check whether additional rebirth pads are unlocked on your account, but do not assume one rebirth grants every pad. Measure distance again at a comparable Level before judging the option.
If your old equipment still appears in the menu, verify that it is equipped. The reset warning does not give a full list of what happens to pets, stones, Wins, or unactivated boosts. A missing equipment choice can make training seem weaker than it is.
FAQ
How do I train in +1 Stone Skipping?
Follow your live tutorial instruction, use an accessible training area, and watch the Skill and Level HUD. The current prompt gives the exact next action.
Which Skill pad should a beginner use?
Use a pad your account shows as unlocked. Read its current multiplier and compare your HUD gain before seeking stronger locked pads.
Are rebirth pads free Shop zones?
They are separate displays in recorded gameplay. Rebirth-locked pads have map signs, while premium Skill zone offers appear in Shop.
Why did my displayed Skill gain change?
Check active timed boosts, Friend Boost, pad state, and other current modifiers. The official unboosted description states +1 Skill per bounce.
Does training guarantee the next zone at a certain level?
No fixed level-to-zone threshold is published officially. Compare several throws after training to find your reliable reach.